Setting Up Housing Management
This feature requires the Housing Management module. Please contact our sales team at sales@pheedloop.com to gain access to this feature set.
PheedLoop’s Housing Management feature is designed to help event administrators collect and evaluate attendees interest in specific hotels or room types. While it’s possible to manually create reservations for attendees in the dashboard, this feature is not intended to manage confirmed bookings or room assignments. Instead, it serves as a tool to gauge demand and coordinate potential housing needs for your event.
Event administrators can create and display relevant hotels that attendees can choose from during the room booking process. Each hotel has the ability to be displayed with images, descriptions, and any other relevant information, providing attendees with a clear understanding of their accommodation options.
Contents
- How to Set Up Housing Management
- Reserving Hotel Rooms as an Attendee
- Approve Hotels as an Admin
- Downloading the Hotel Reservation Report
1. How to Set Up Housing Management
1 (A). Adding Hotels
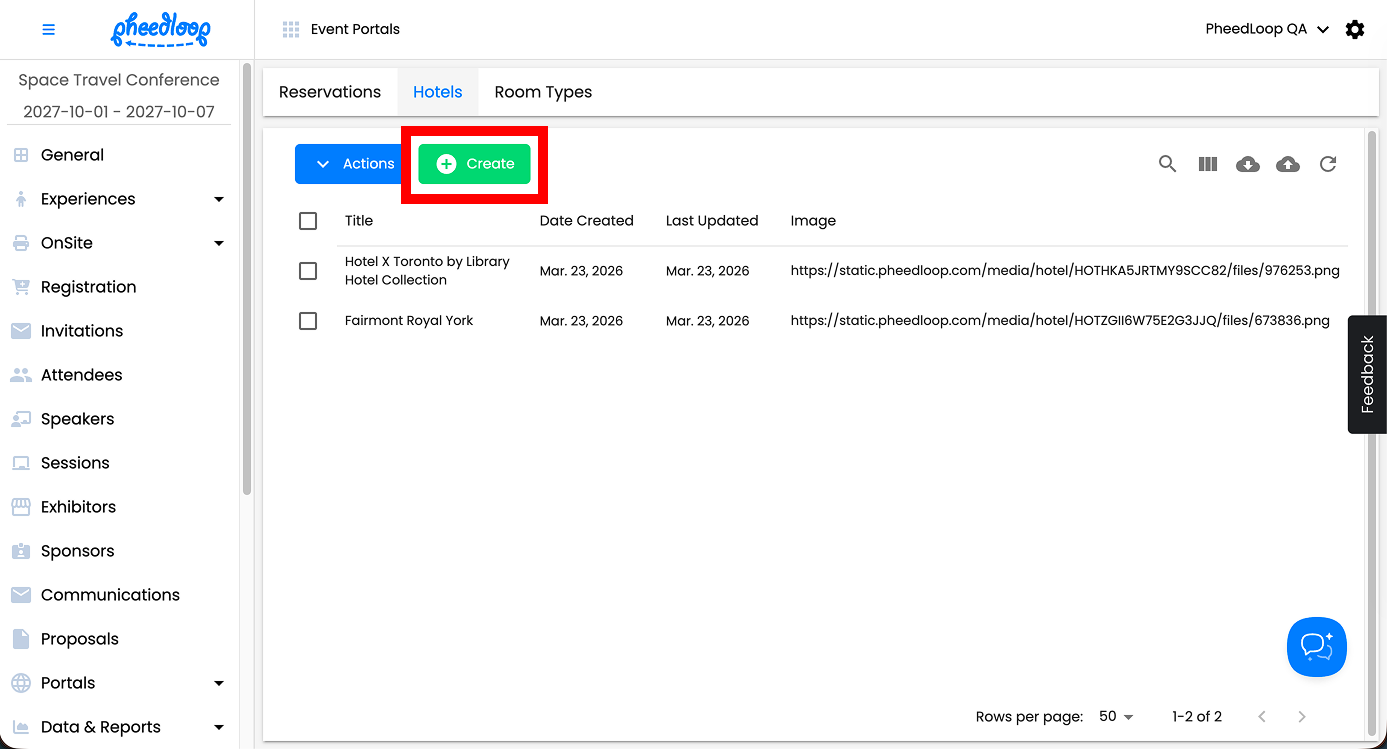
- From the Event Dashboard, navigate to Accommodation > Hotels
-
Above the Hotels table, select Create
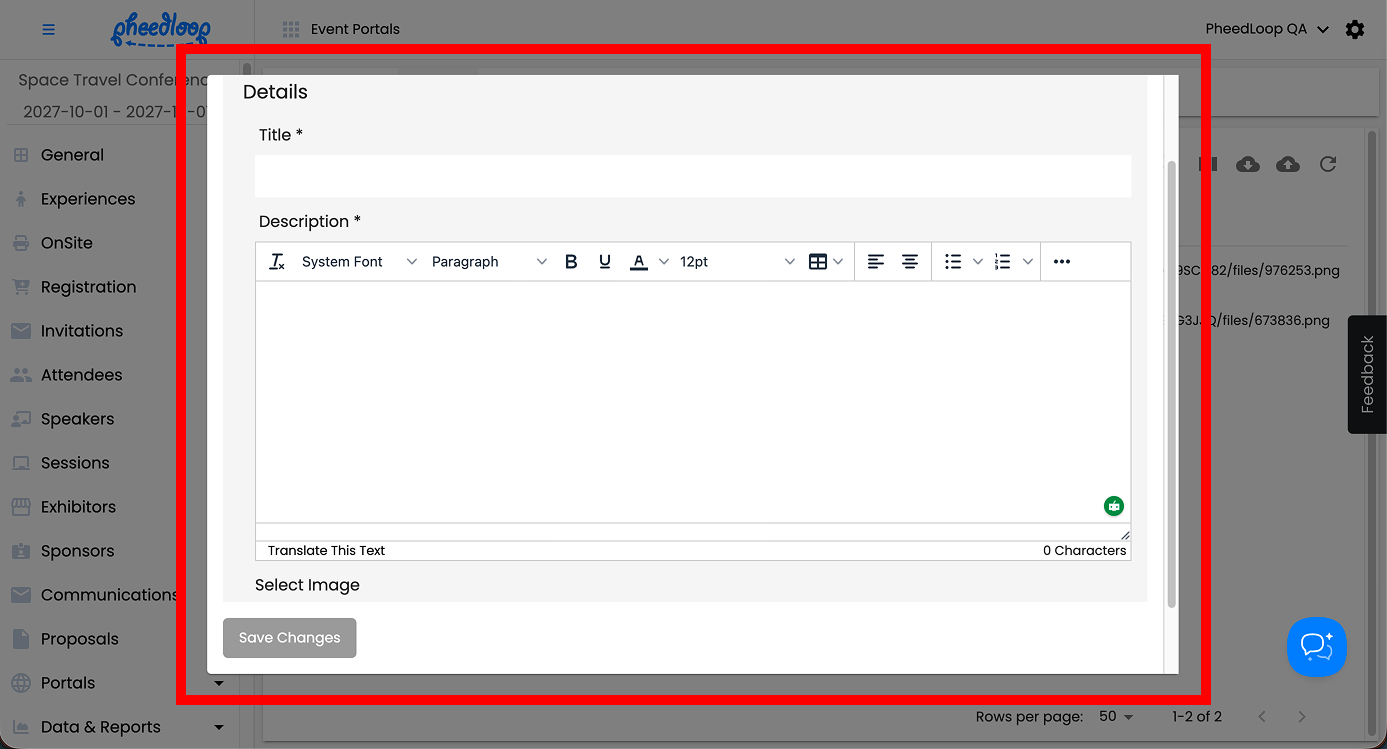
- Fill out the Title and Description fields
- Under Select Image, upload an image of the hotel
-
Select Save Changes


Note - to delete any hotels, navigate to Accommodation > Hotels, select the hotel you would like to delete from the list and select Actions > Delete. If you delete a hotel with a room type attached, both the hotel and the room(s) will be deleted from the system.

Bulk Uploading Hotel Types
Multiple Hotels can be uploaded simultaneously into the Event Dashboard.
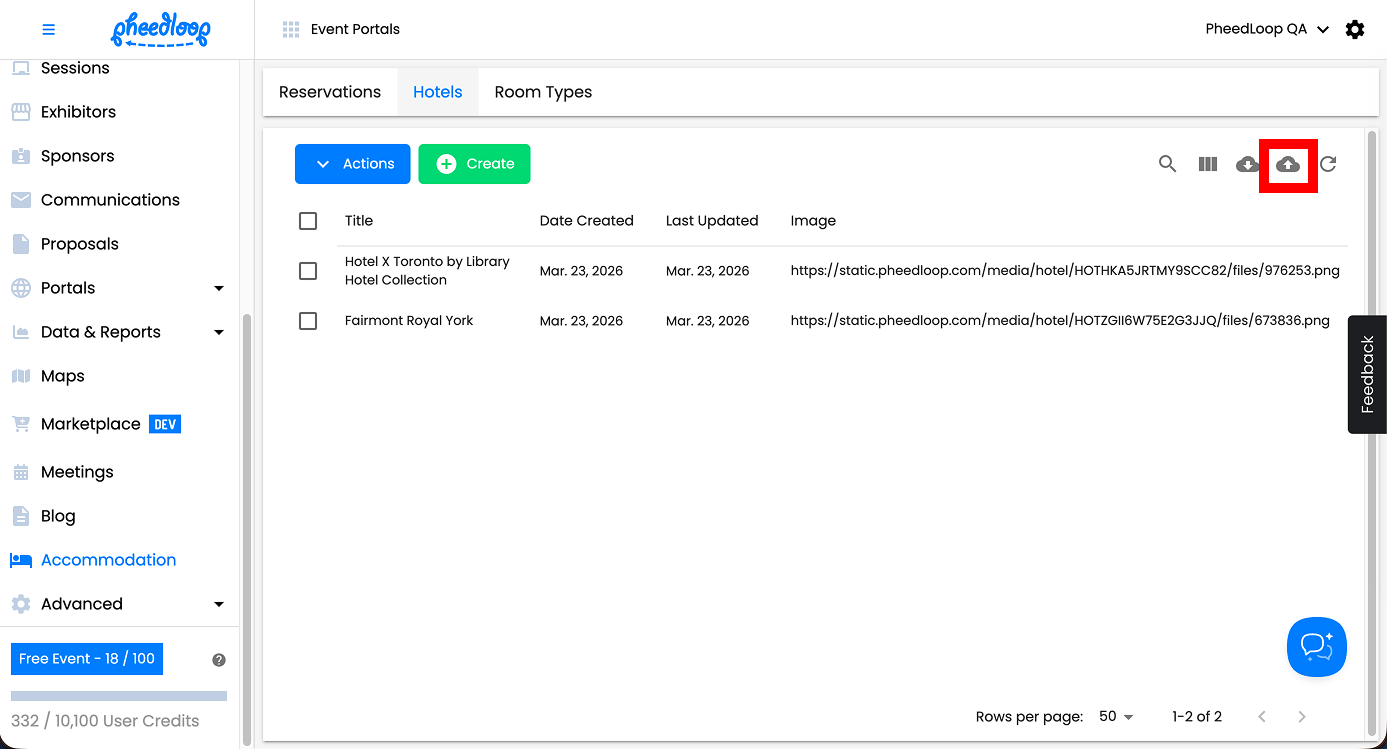
- From the Event Dashboard, navigate to Accommodation > Hotels
-
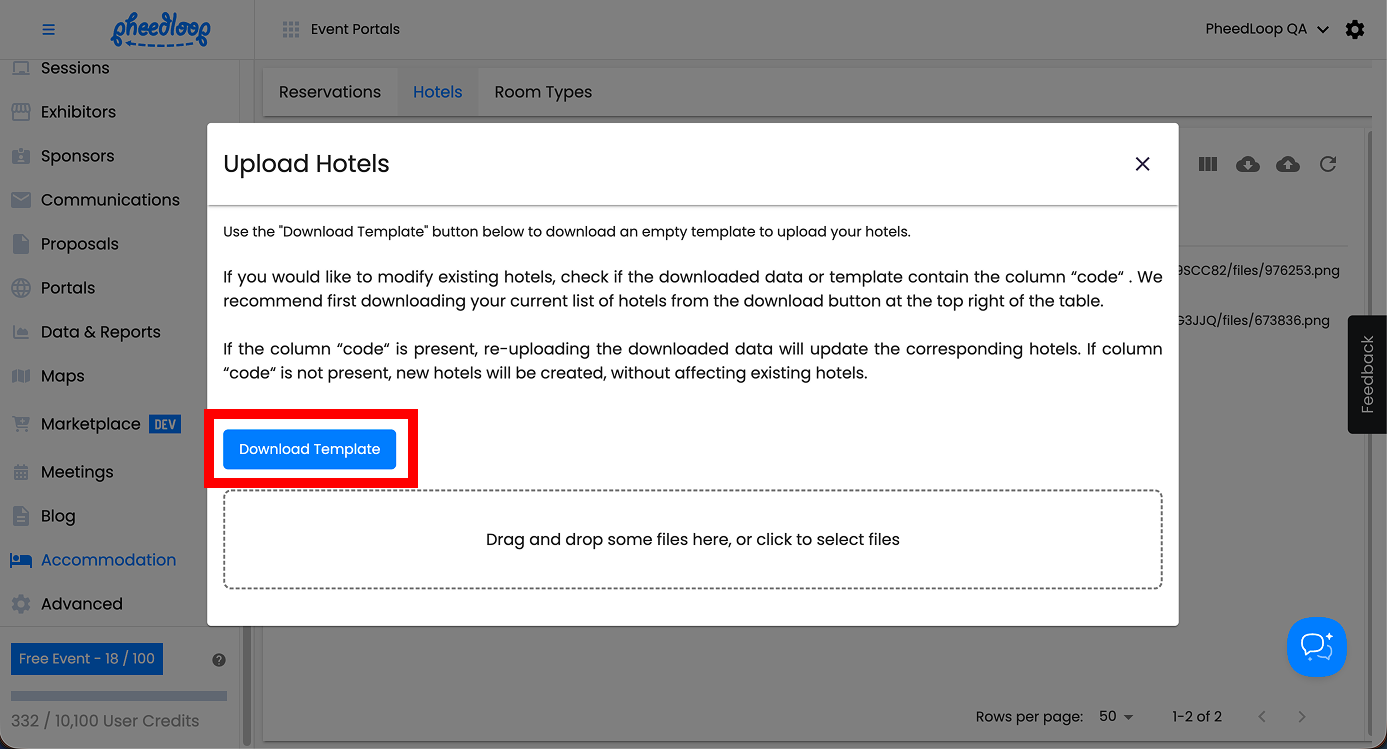
Select the Upload button
-
Select Download Template


A CSV file containing the Hotel template will now be downloaded onto your device. Please note, CSV files do not support all special characters. As a result, some special characters may appear incorrectly when data is uploaded using a bulk upload CSV.
- Open the Hotel template file
- Fill out the information outlined in the Headings in the Hotel Upload Template step below
- Save the document as a CSV file
- From the Event Dashboard, navigate to Accommodation > Hotels
- Select the Upload button
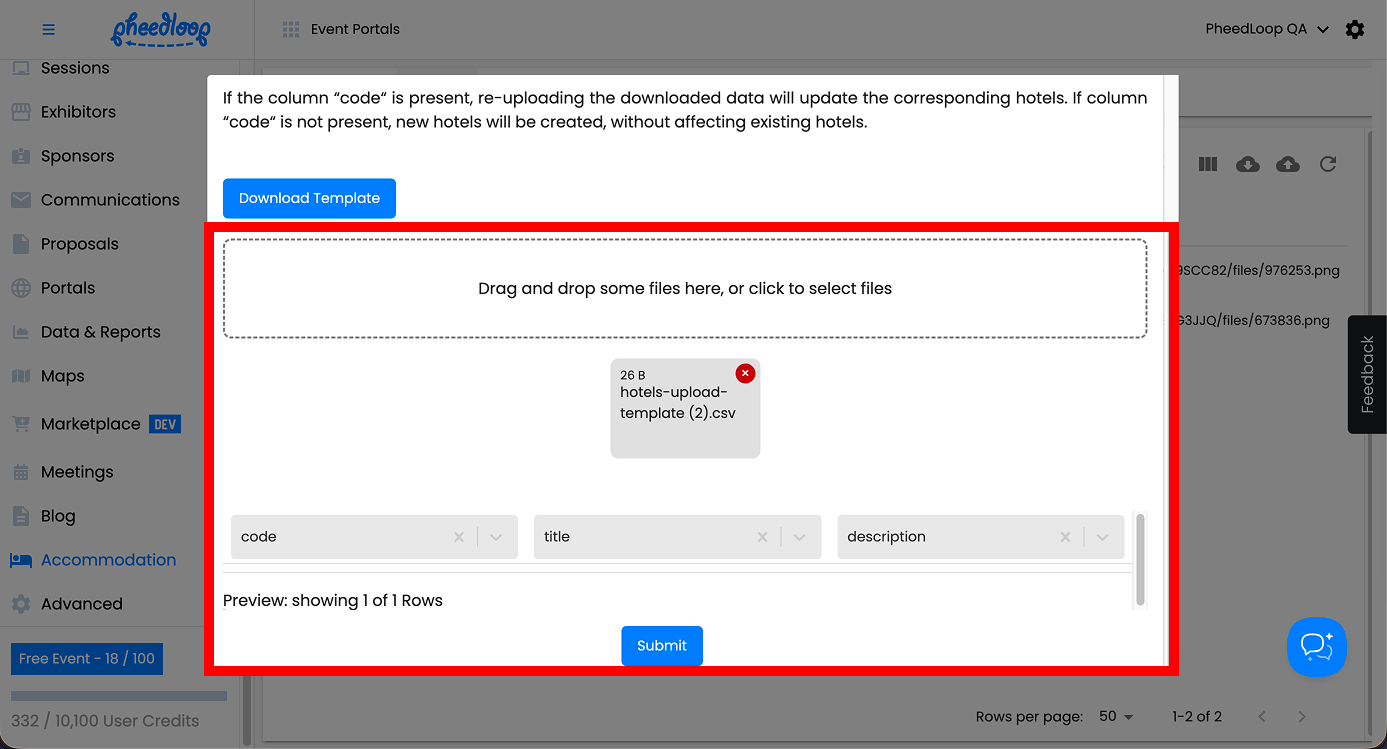
- Select the Drag and drop some files here, or click to select files button to upload the CSV file
-
Select Submit

Headings in the Hotel Upload Template
The hotel template has multiple columns to fill out. Below, we will define each column and its purpose.
| code | This field is only necessary if you intend to edit an existing Hotel. Enter the Hotel code under this column to edit their information. Hotel codes can be found by navigating to Accommodations > Hotels and selecting the download icon to the far right of the Create button. Leave this field blank to create new Hotels. |
| title | Enter the name of the hotel under this column. |
| description | Enter the description under this column. |
1 (B). Adding Room Types
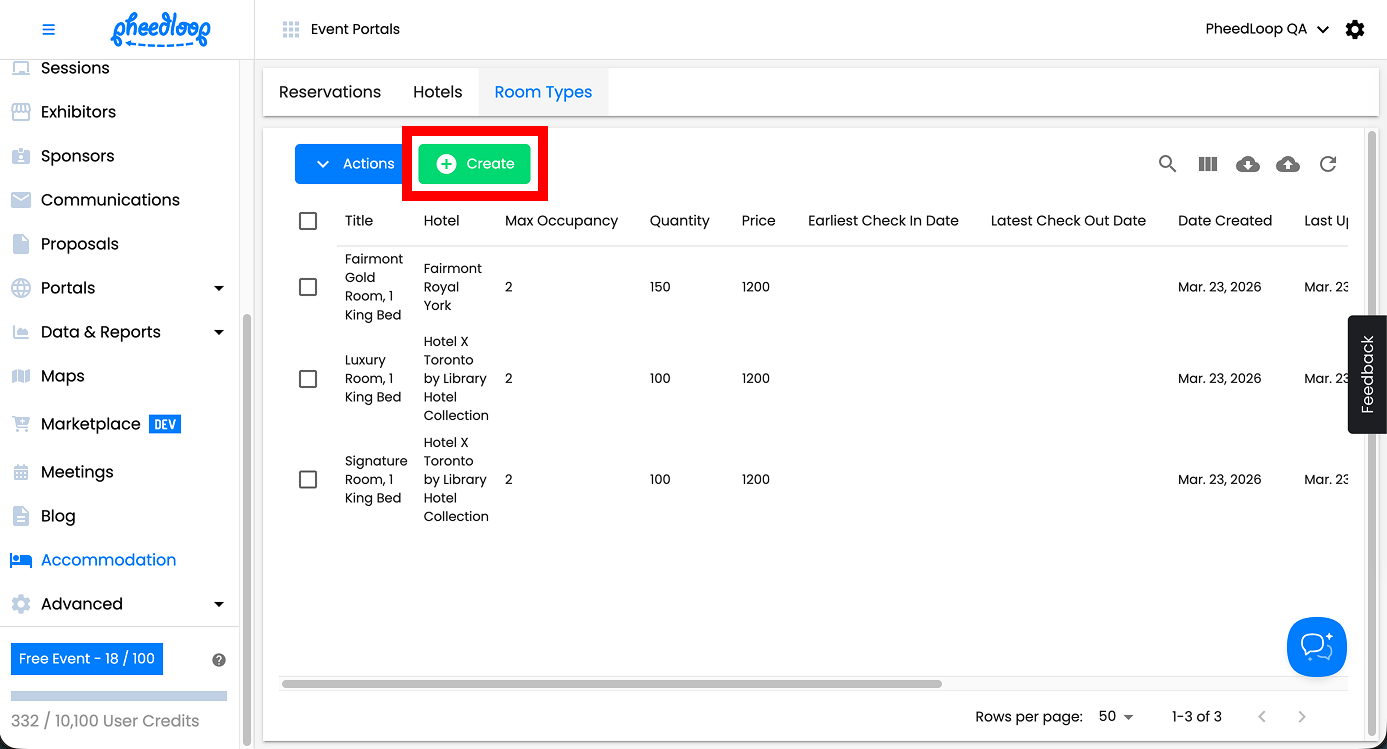
- From the Event Dashboard, navigate to Accommodation > Room Types
-
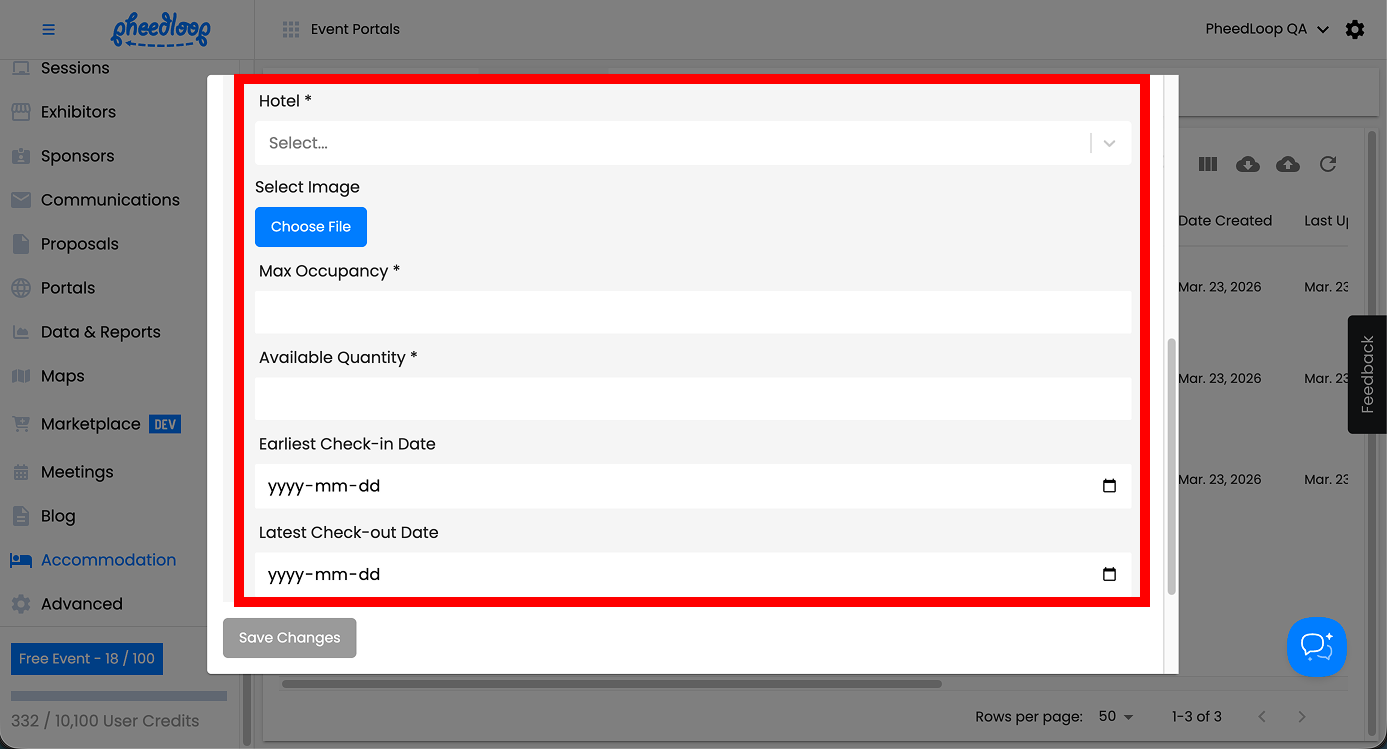
Above the room types table, select Create
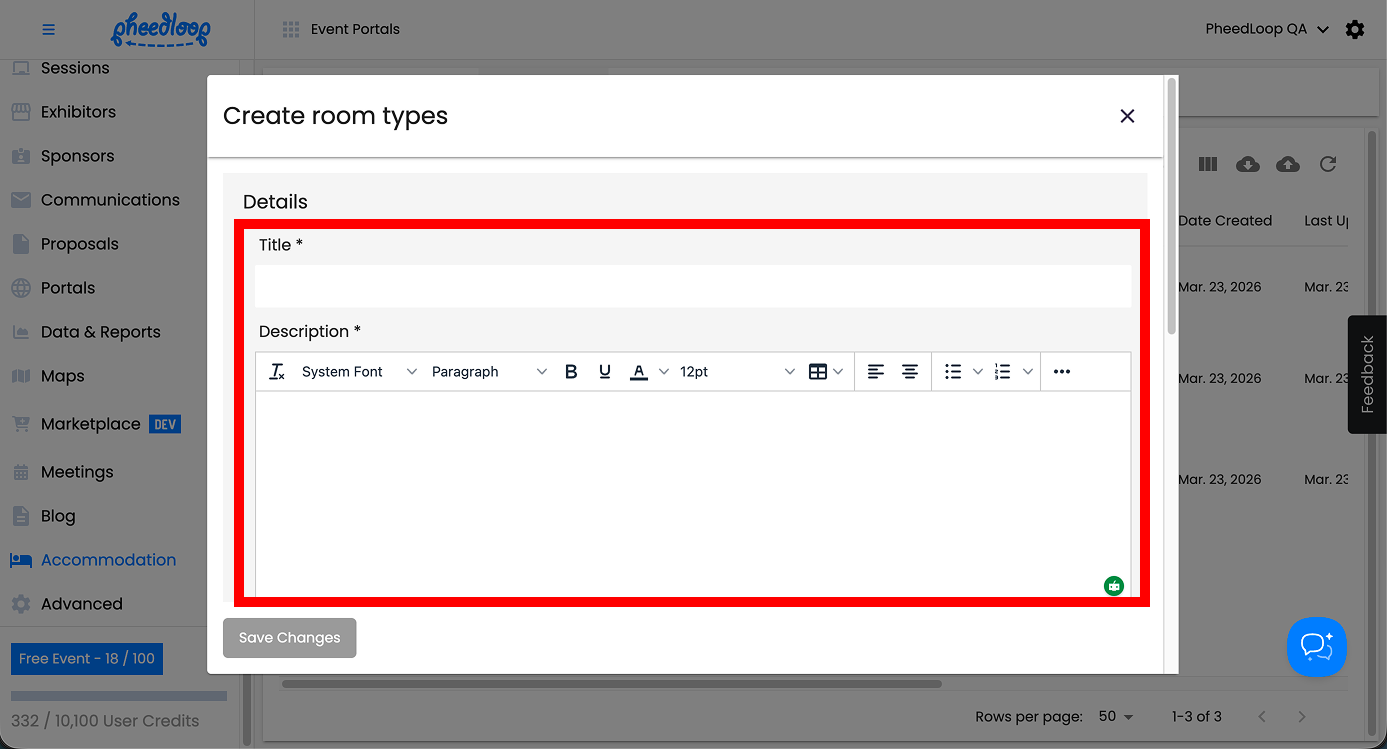
-
Fill out the Title and Description fields
- Under Hotel, select a hotel from the list
- Under Select Image, upload an image of the room
- Fill out the Max Occupancy field
- This number is the maximum number of people who can be accommodated in the room.
- Fill out the Available Quantity
- This is the maximum number of hotel rooms available.
- Under the Earliest Check-in Date field, select the date the attendee is expected to check in for
-
Under the Latest Check-out Date field, select the date the attendee is expected to check out by
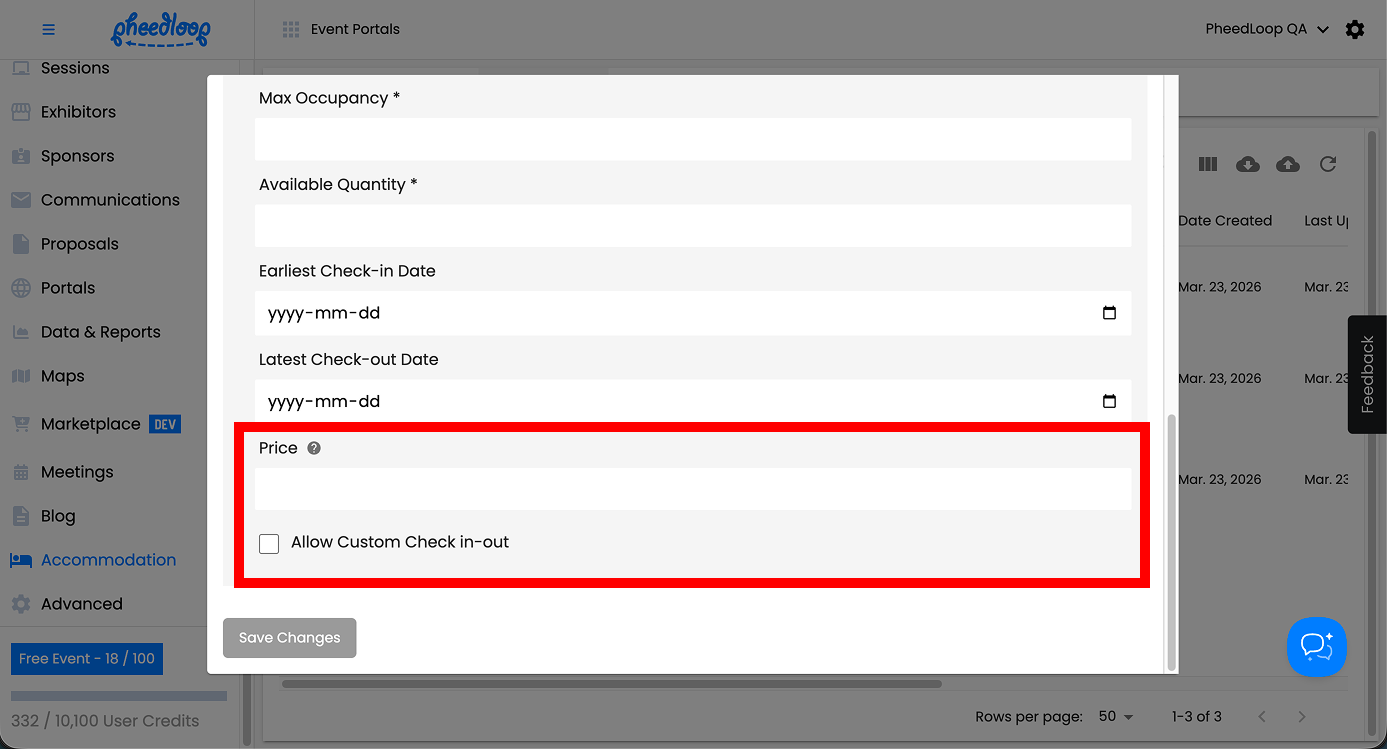
- Fill out the Price field
- This number should be the price per night, it is for display purposes only.
- We do not support making payment for hotel reservations at the moment.
- Toggle on/off the Allow Custom Check in-out checkbox
- This feature will override the Earliest Check-in Date and Latest Check-out Date allowing users to choose when they want to check in and out.
-
Select Save Changes


Note - to delete any rooms, navigate to Accommodation > Room Types, select the room you would like to delete from the list and select Actions > Delete.

Bulk Uploading Room Types
Multiple Room Types can be uploaded simultaneously into the Event Dashboard.
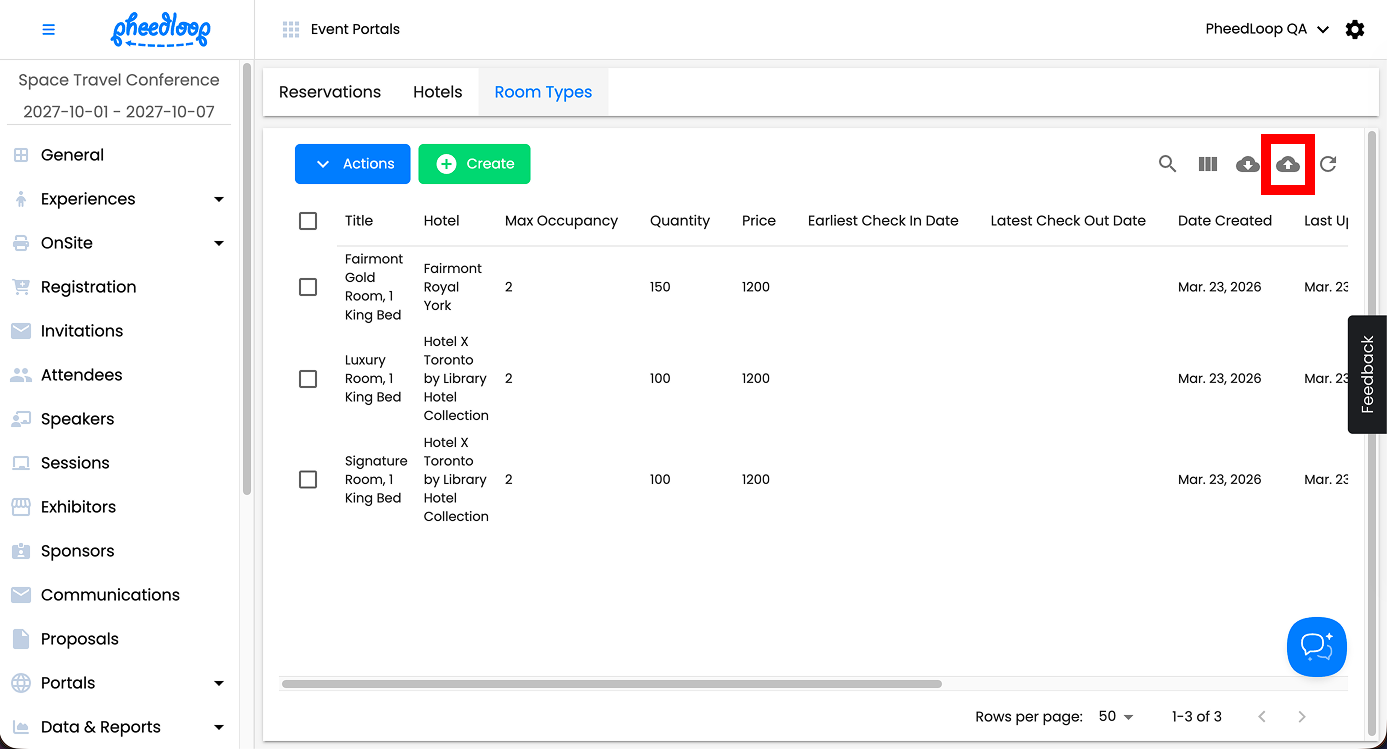
- From the Event Dashboard, navigate to Accommodation > Room Types
-
Select the Upload button
-
Select Download Template
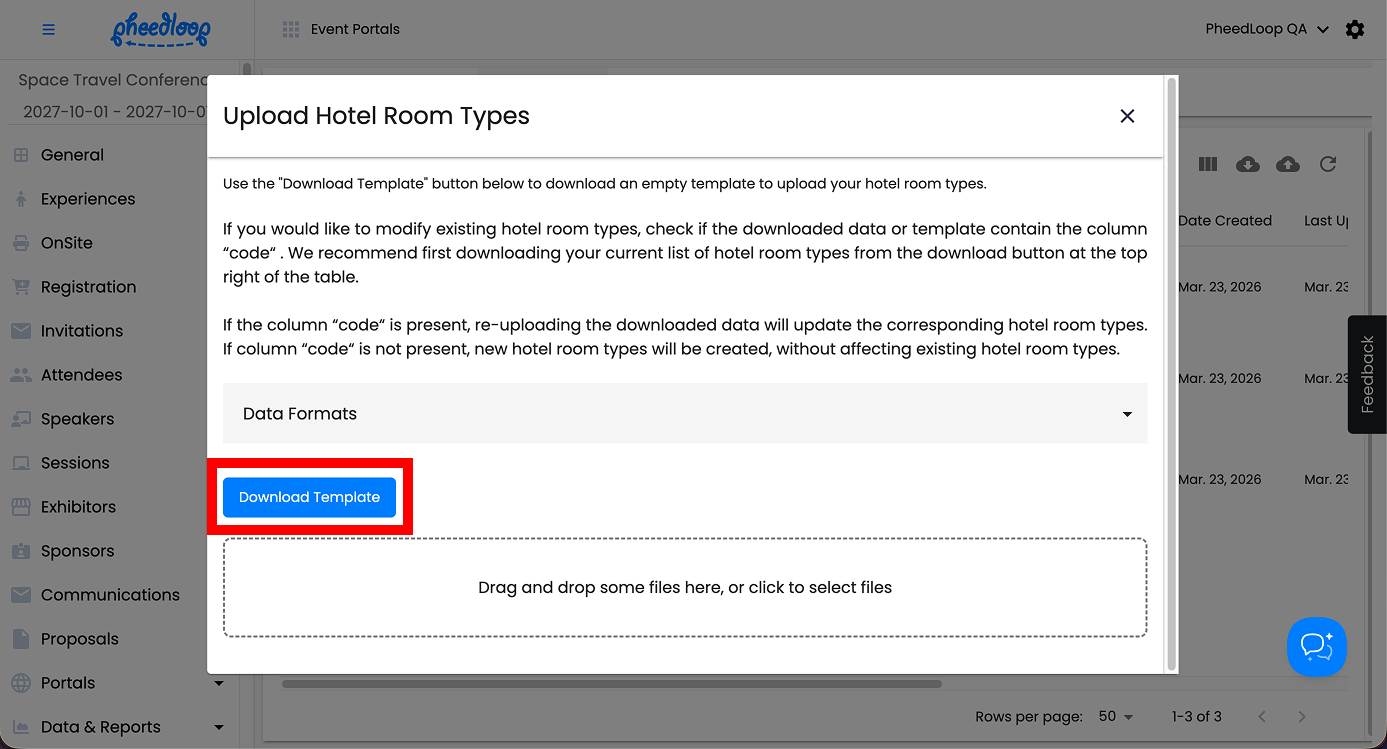


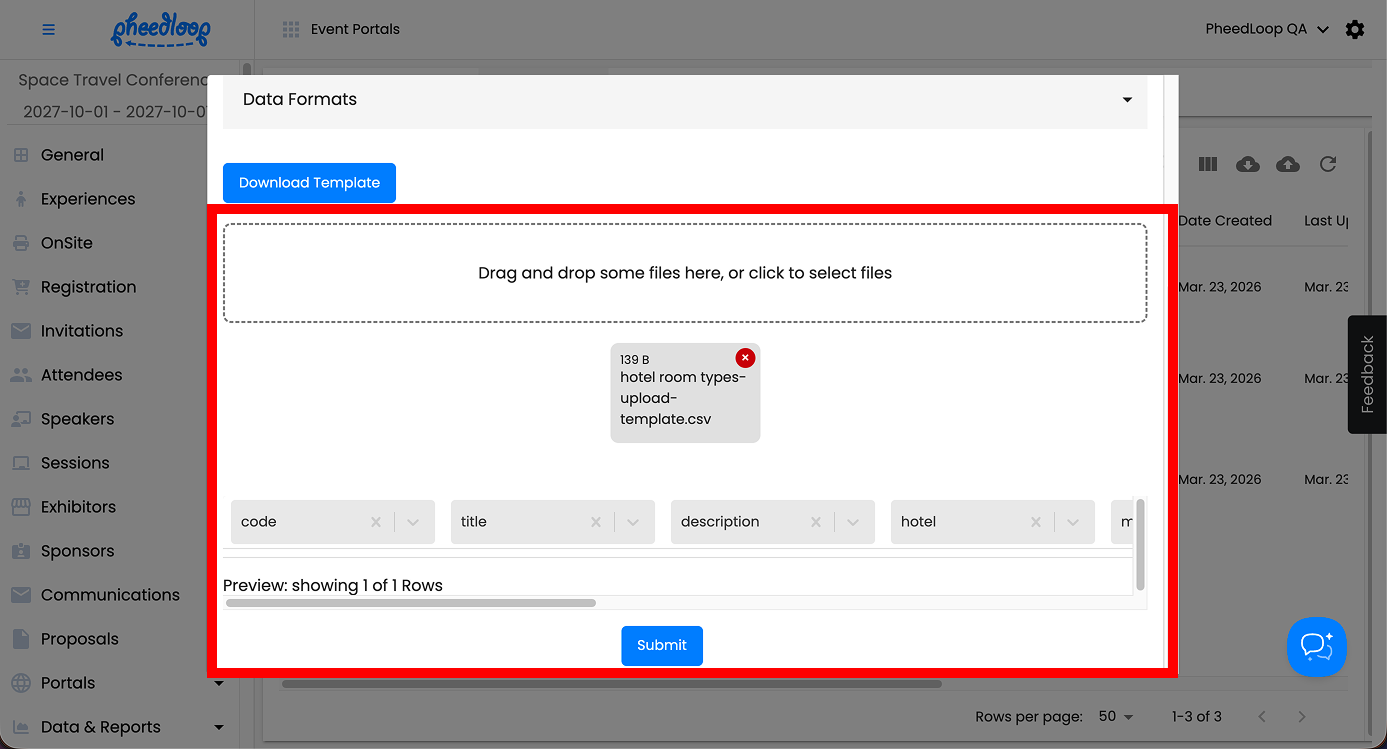
A CSV file containing the Room Types template will now be downloaded onto your device. Please note, CSV files do not support all special characters. As a result, some special characters may appear incorrectly when data is uploaded using a bulk upload CSV.
- Open the Room Types template file
- Fill out the information outlined in the Headings in the Room Types Upload Template step below
- Save the document as a CSV file
- From the Event Dashboard, navigate to OnSite > Staff & Permissions > Staff Members
- Select the Upload button
- Select the Drag and drop some files here, or click to select files button to upload the CSV file
-
Select Submit

Headings in the Room Types Upload Template
The Room Types template has multiple columns to fill out. Below we will define each column and their purpose.
| code | This field is only necessary if you intend to edit an existing Room Type. Enter the Room Type code under this column to edit their information. Room Type codes can be found by navigating to Accommodations > Room Types and selecting the download icon to the far right of the Create button. Leave this field blank to create new Room Types. |
| title | Enter the name of the Room Type under this column. |
| description | Enter the description of the room type under this column. |
| hotel | Enter the hotel code under this column to assign it to the hotel. Hotel codes can be found by navigating to Accommodations > Hotels and selecting the download icon to the far right of the Create button. |
| max_occupancy | Enter the maximum number of people that can be assigned to the room in a single registration under this column. This column affects the Max Occupancy field. |
| quantity | Enter the total number of reservations that can be made across all registrations under this column. This column affects the Available Quantity field. |
| earliest_check_in_date | Enter the date when attendees are expected to check in to the Room Type under this column. This column affects the Earliest Check-in Date field. |
| latest_check_out_date | Enter the date when attendees are expected to check out the Room Type under this column. This column affects the Latest Check-out Date field. |
| price | Enter the cost of the Room Type under this column. |
|
allow_custom_check_in_out
|
Enter TRUE under this column to toggle on the Allow Custom Check in-out checkbox. Leave this column blank or enter FALSE under this column to leave this checkbox off. By default, this column is set to false. |
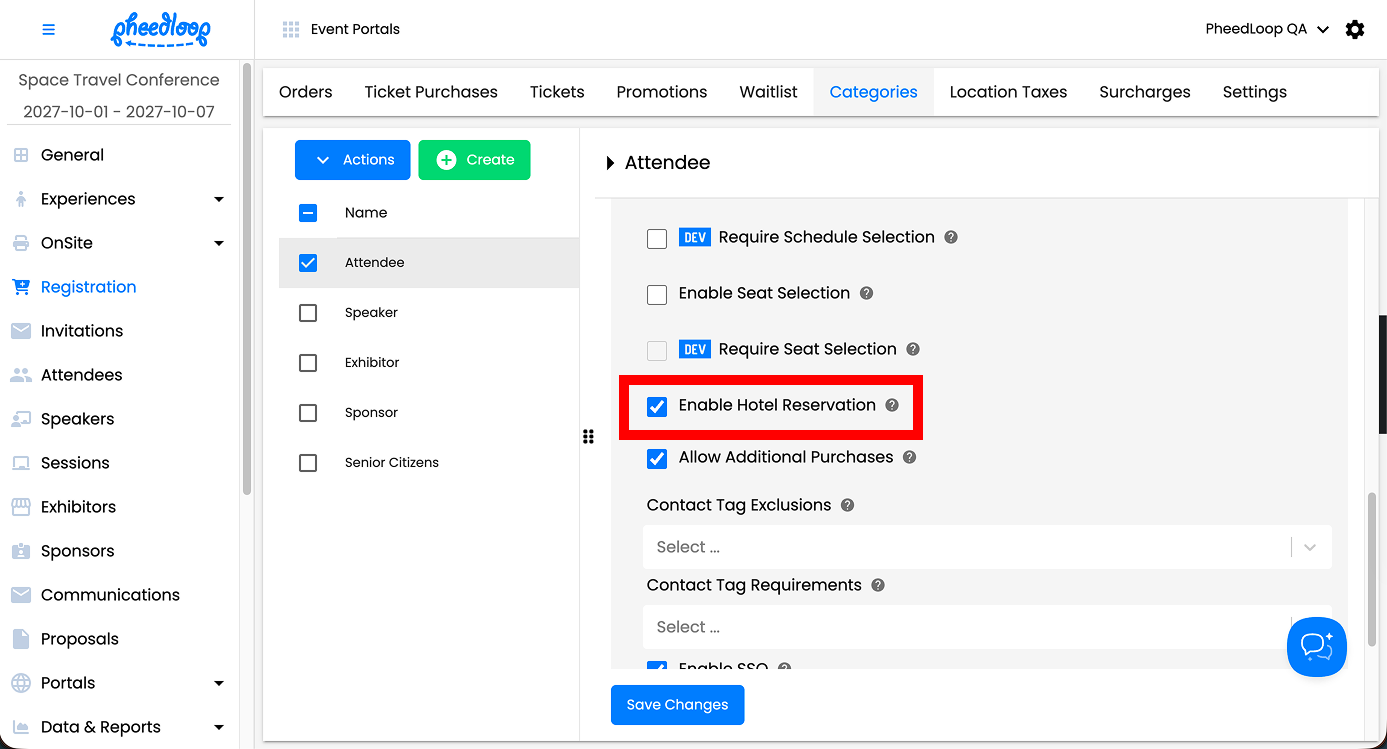
1 (C). Adding Hotel Selection to Registration Categories
Event administrators must first toggle on the Enable Hotel Reservation checkbox in the category settings before attendees can select their hotel
- From the Event Dashboard, navigate to Registration > Categories
- Select the Category you wish to adjust from the list
- Toggle on the Enable Hotel Reservation checkbox
-
Select Save Changes

2. Creating Hotel Room Reservations
Hotel room reservations can be created in two ways: attendees can select a room during the registration flow, or Event Administrators can create reservations manually from the Event Dashboard. Regardless of how a reservation is submitted, it must be approved by an Event Administrator before it is considered confirmed.
2. A) Reserving Hotel Rooms as an Attendee
As an attendee, the process of acquiring a hotel room for your event is simply going through the registration flow. The Hotel Reservation step will appear after the checkout, schedule, and seat selection steps (if configured).

2. B) Reserving Hotel Rooms as an Event Administrator
Event Administrators can also create reservations manually from the Event Dashboard. This method is handy if you are pulling reservations from a third-party source or prefer to do things manually.
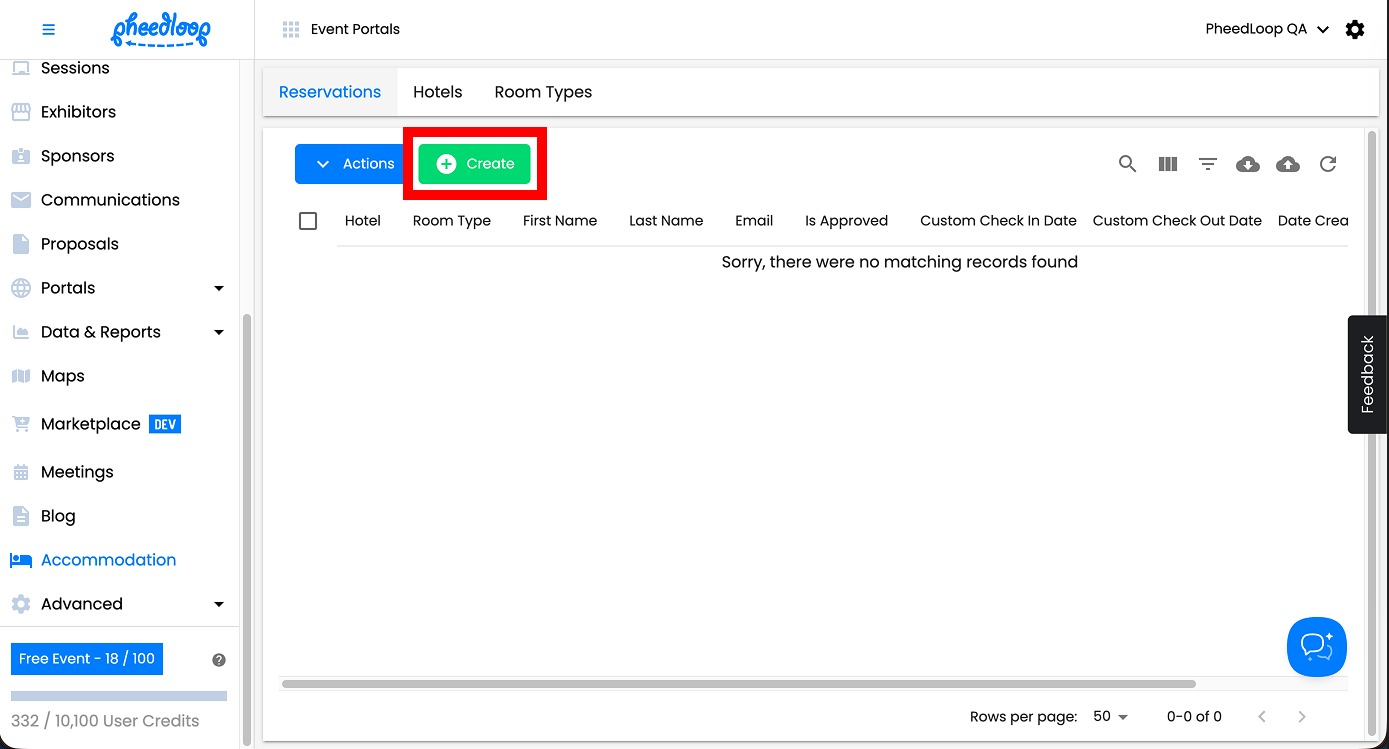
- From the Event Dashboard, navigate to Accommodation > Reservations
-
Above the Reservations table, select Create
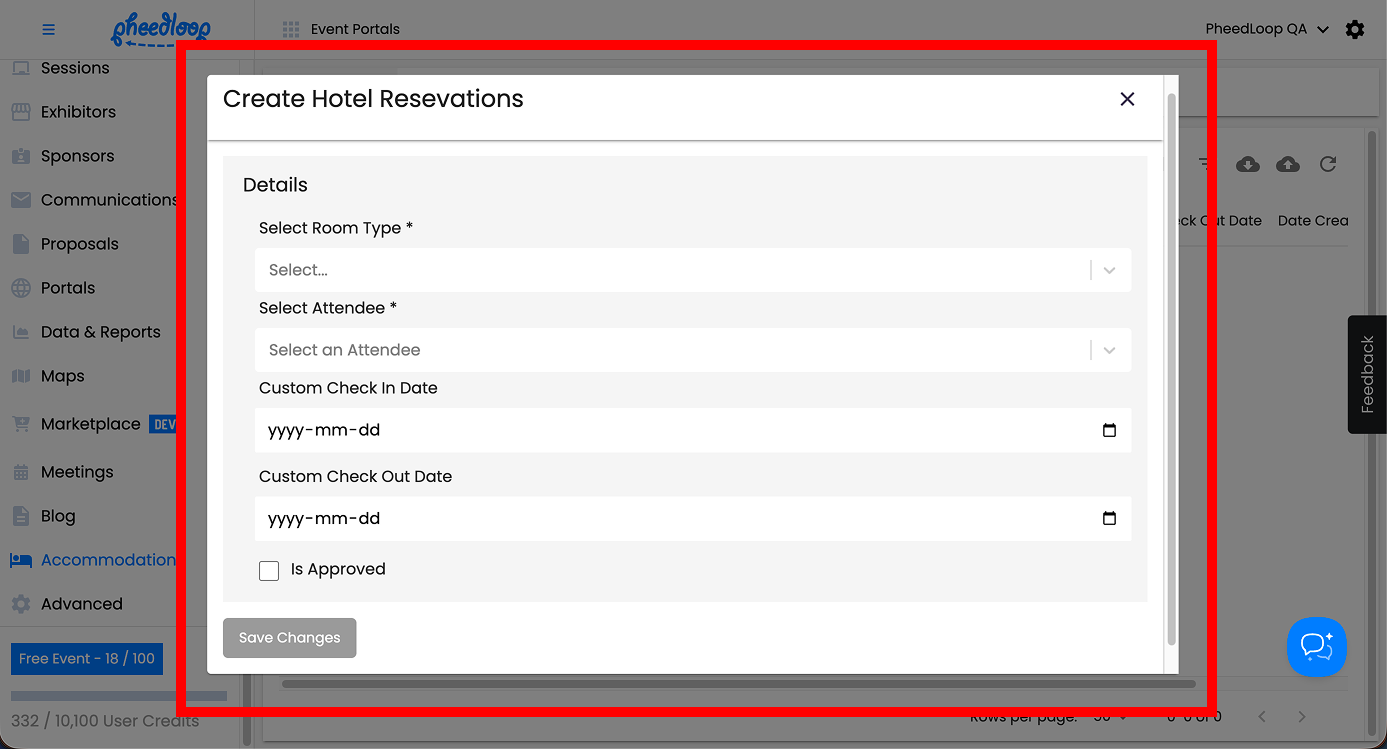
- Under the Select Room Type field, select the Room Type from the list
- Under the Select Attendee field, select the attendee from the list
- Under the Custom Check In Date field, select the date the attendee will check in
- Under the Custom Check Out Date field, select the date the attendee will check out
- Toggle on the Is Approved checkbox if this reservation has been approved
-
Select Save Changes


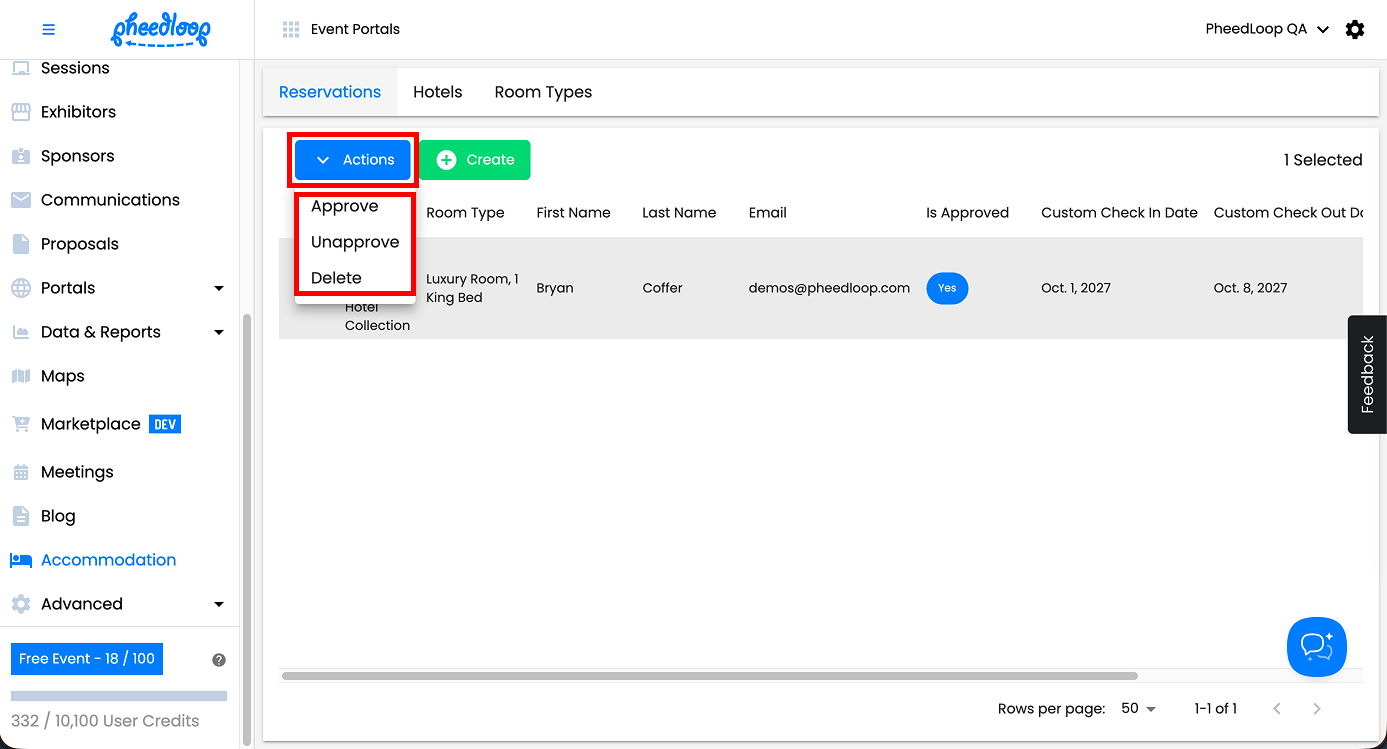
3. Approve Hotels as an Admin
Once an attendee reserves a hotel room, it’s up to the event administrator to approve/unapprove the reservation from the Event Dashboard. By approving hotel submissions, event administrators can better manage their room inventory.
After the attendee makes a reservation, it’s up to the event manager to send a link for payment or an invoice which can be provided by the hotel itself.
- From the Event Dashboard, navigate to Accommodation > Reservations
- Select a reservation you would like to approve/unapprove from the list
- Above the reservation table, select Actions > Approve
- If you want to unapprove of the reservation just select Unapprove instead.
-
You can also delete the reservation entirely by selecting Delete.

4. Downloading the Hotel Reservation Report
Similarly to all types of data you can extract from PheedLoop, the data & reports section will allow you to create a custom report where you can get all the reservation data in one place.
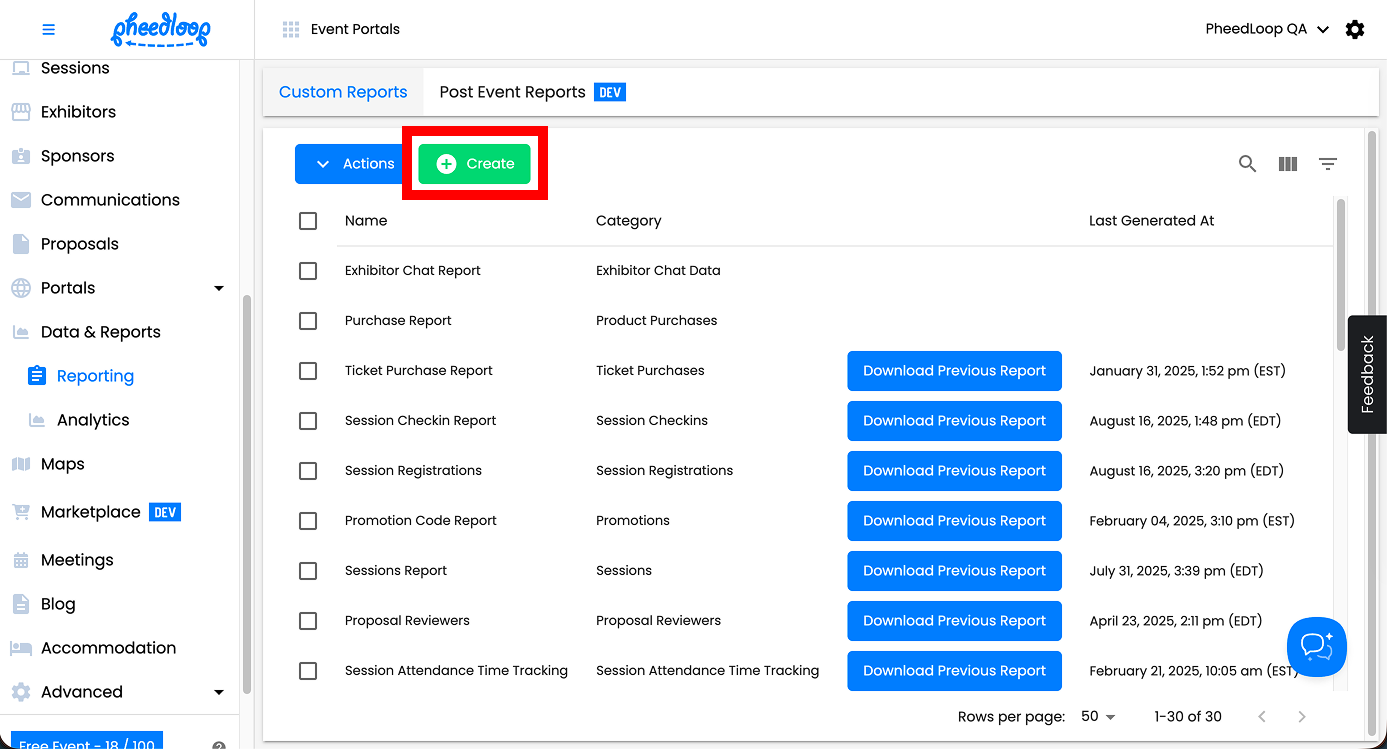
4 (A). Creating a Hotel Room Reservation Report
- From the Event Dashboard, navigate to Data & Reports > Reporting > Custom Reports
-
Above the custom reports table, select Create
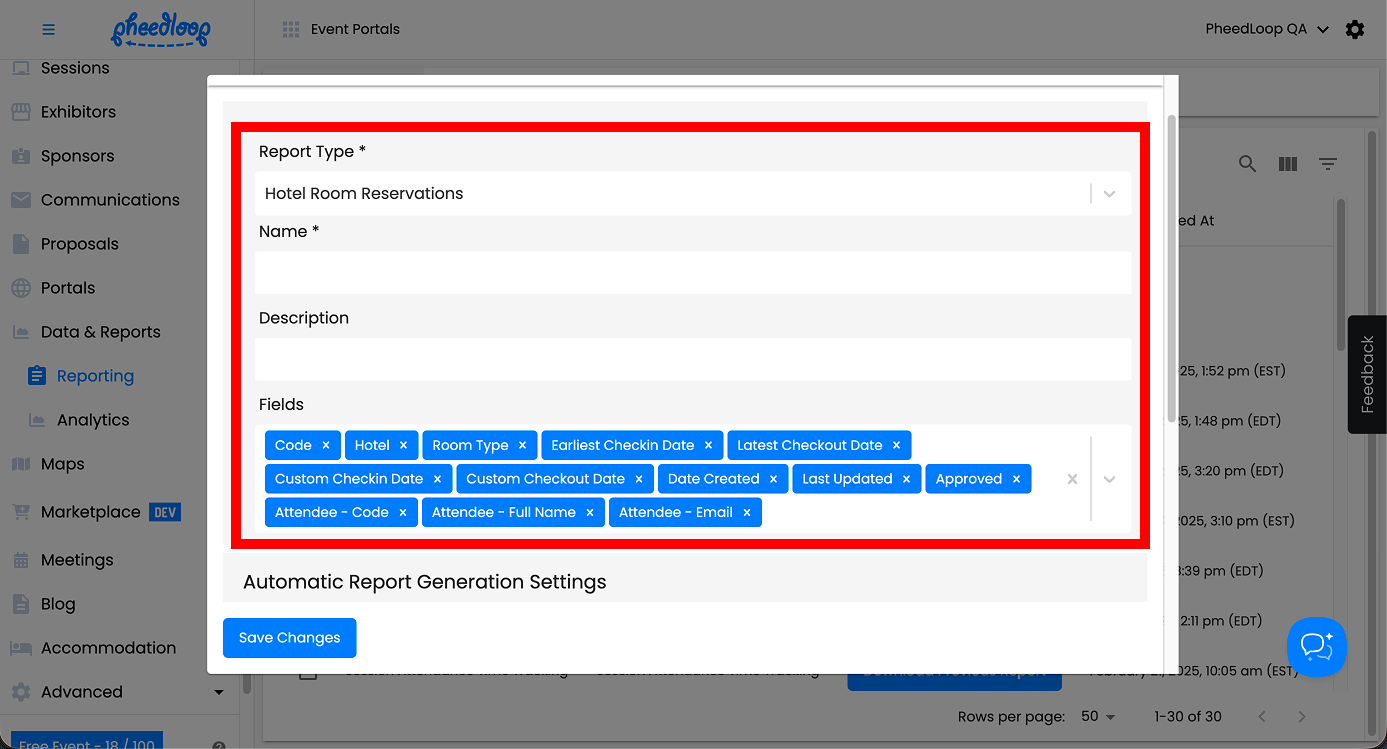
- Under Report Type, select Hotel Room Reservations
- Fill out the Name and Description field
- Under Fields, select Hotel, Room Type, Earliest Checkin Date, Latest Checkout Date, Approved, and more
- There are a ton of attendee related fields you can choose as well.
-
Select Save Changes


4 (B). Downloading the Custom Report
- From the Event Dashboard, navigate to Data & Reports > Reporting > Custom Reports
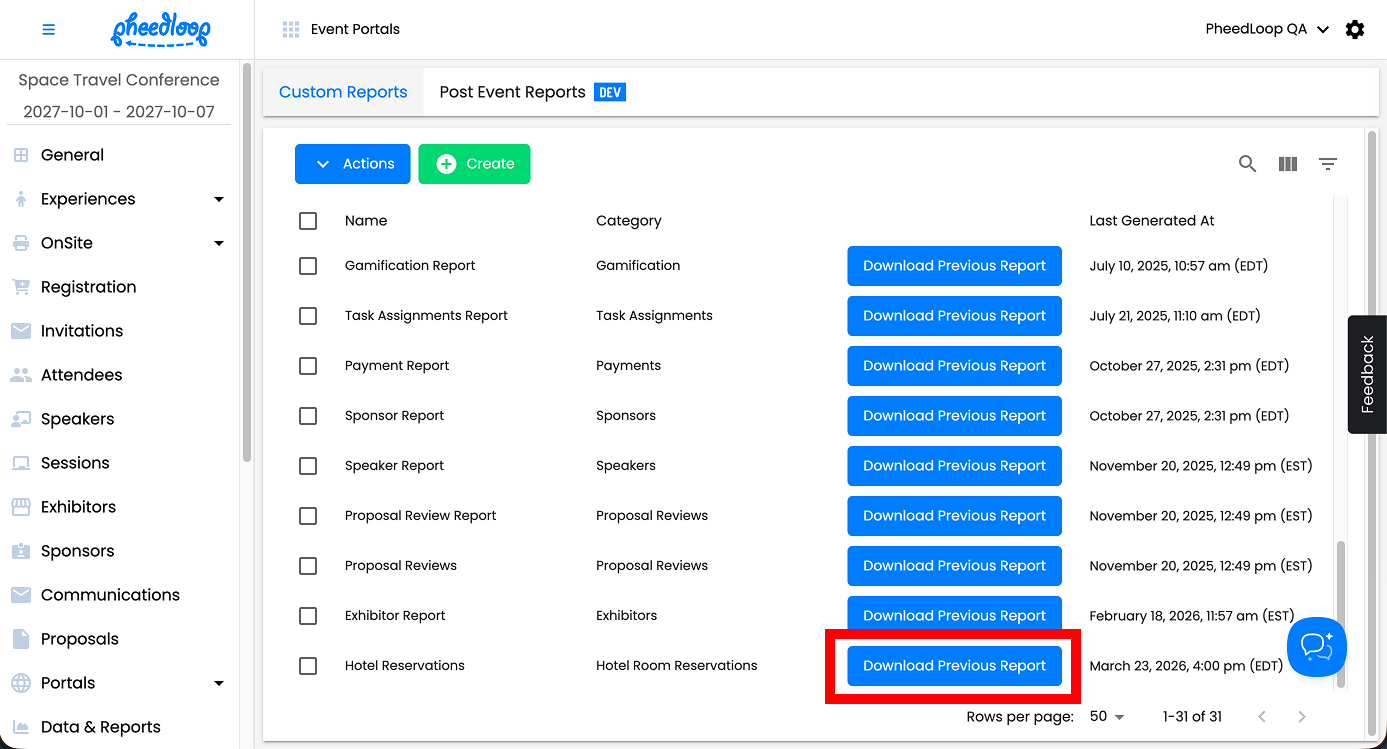
- Select the Hotel Room Reservation report from the list
-
Above the custom report table, select Actions > Generate Report
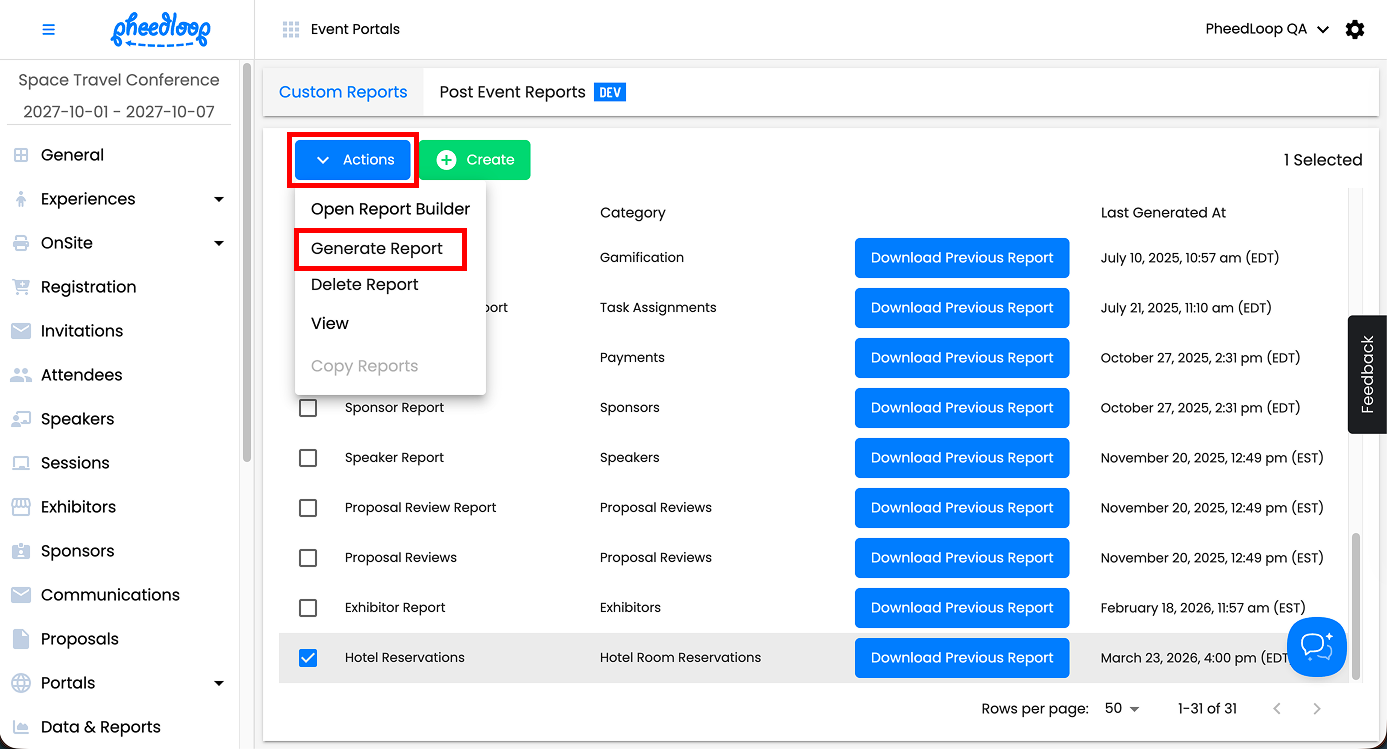
-
Once the report is created, select Download Previous Report