Setting up Webhooks in PheedLoop
If you are looking for information on PheedLoop's API, please visit: https://develop.pheedloop.com/
PheedLoop provides built-in support for webhooks, allowing event organizers to send real-time event data to external systems as events occur. Webhook functionality is available out of the box and is not restricted behind additional pricing tiers. Customers are responsible for creating and maintaining their own webhook endpoints and ensuring they function correctly.
Please note, PheedLoop's customer support team is unable to assist with endpoint configuration or troubleshooting outside of the PheedLoop platform.
What is a Webhook?
A webhook is a method that allows one system to automatically send data to another system in real time when a specific event occurs. Webhooks are commonly used to keep systems in sync without requiring manual exports or repeated data requests.
Instead of repeatedly polling an API for updates, a webhook sends information only when an event occurs. In PheedLoop, this means that when a supported resource (such as registrations, attendees, or check-ins) is created, updated, or deleted, a notification is sent to a customer-defined endpoint (URL). Webhooks are well suited for customers who integrate PheedLoop with external systems and want to automate workflows or keep data synchronized without manual intervention.
Setting up Webhooks in PheedLoop
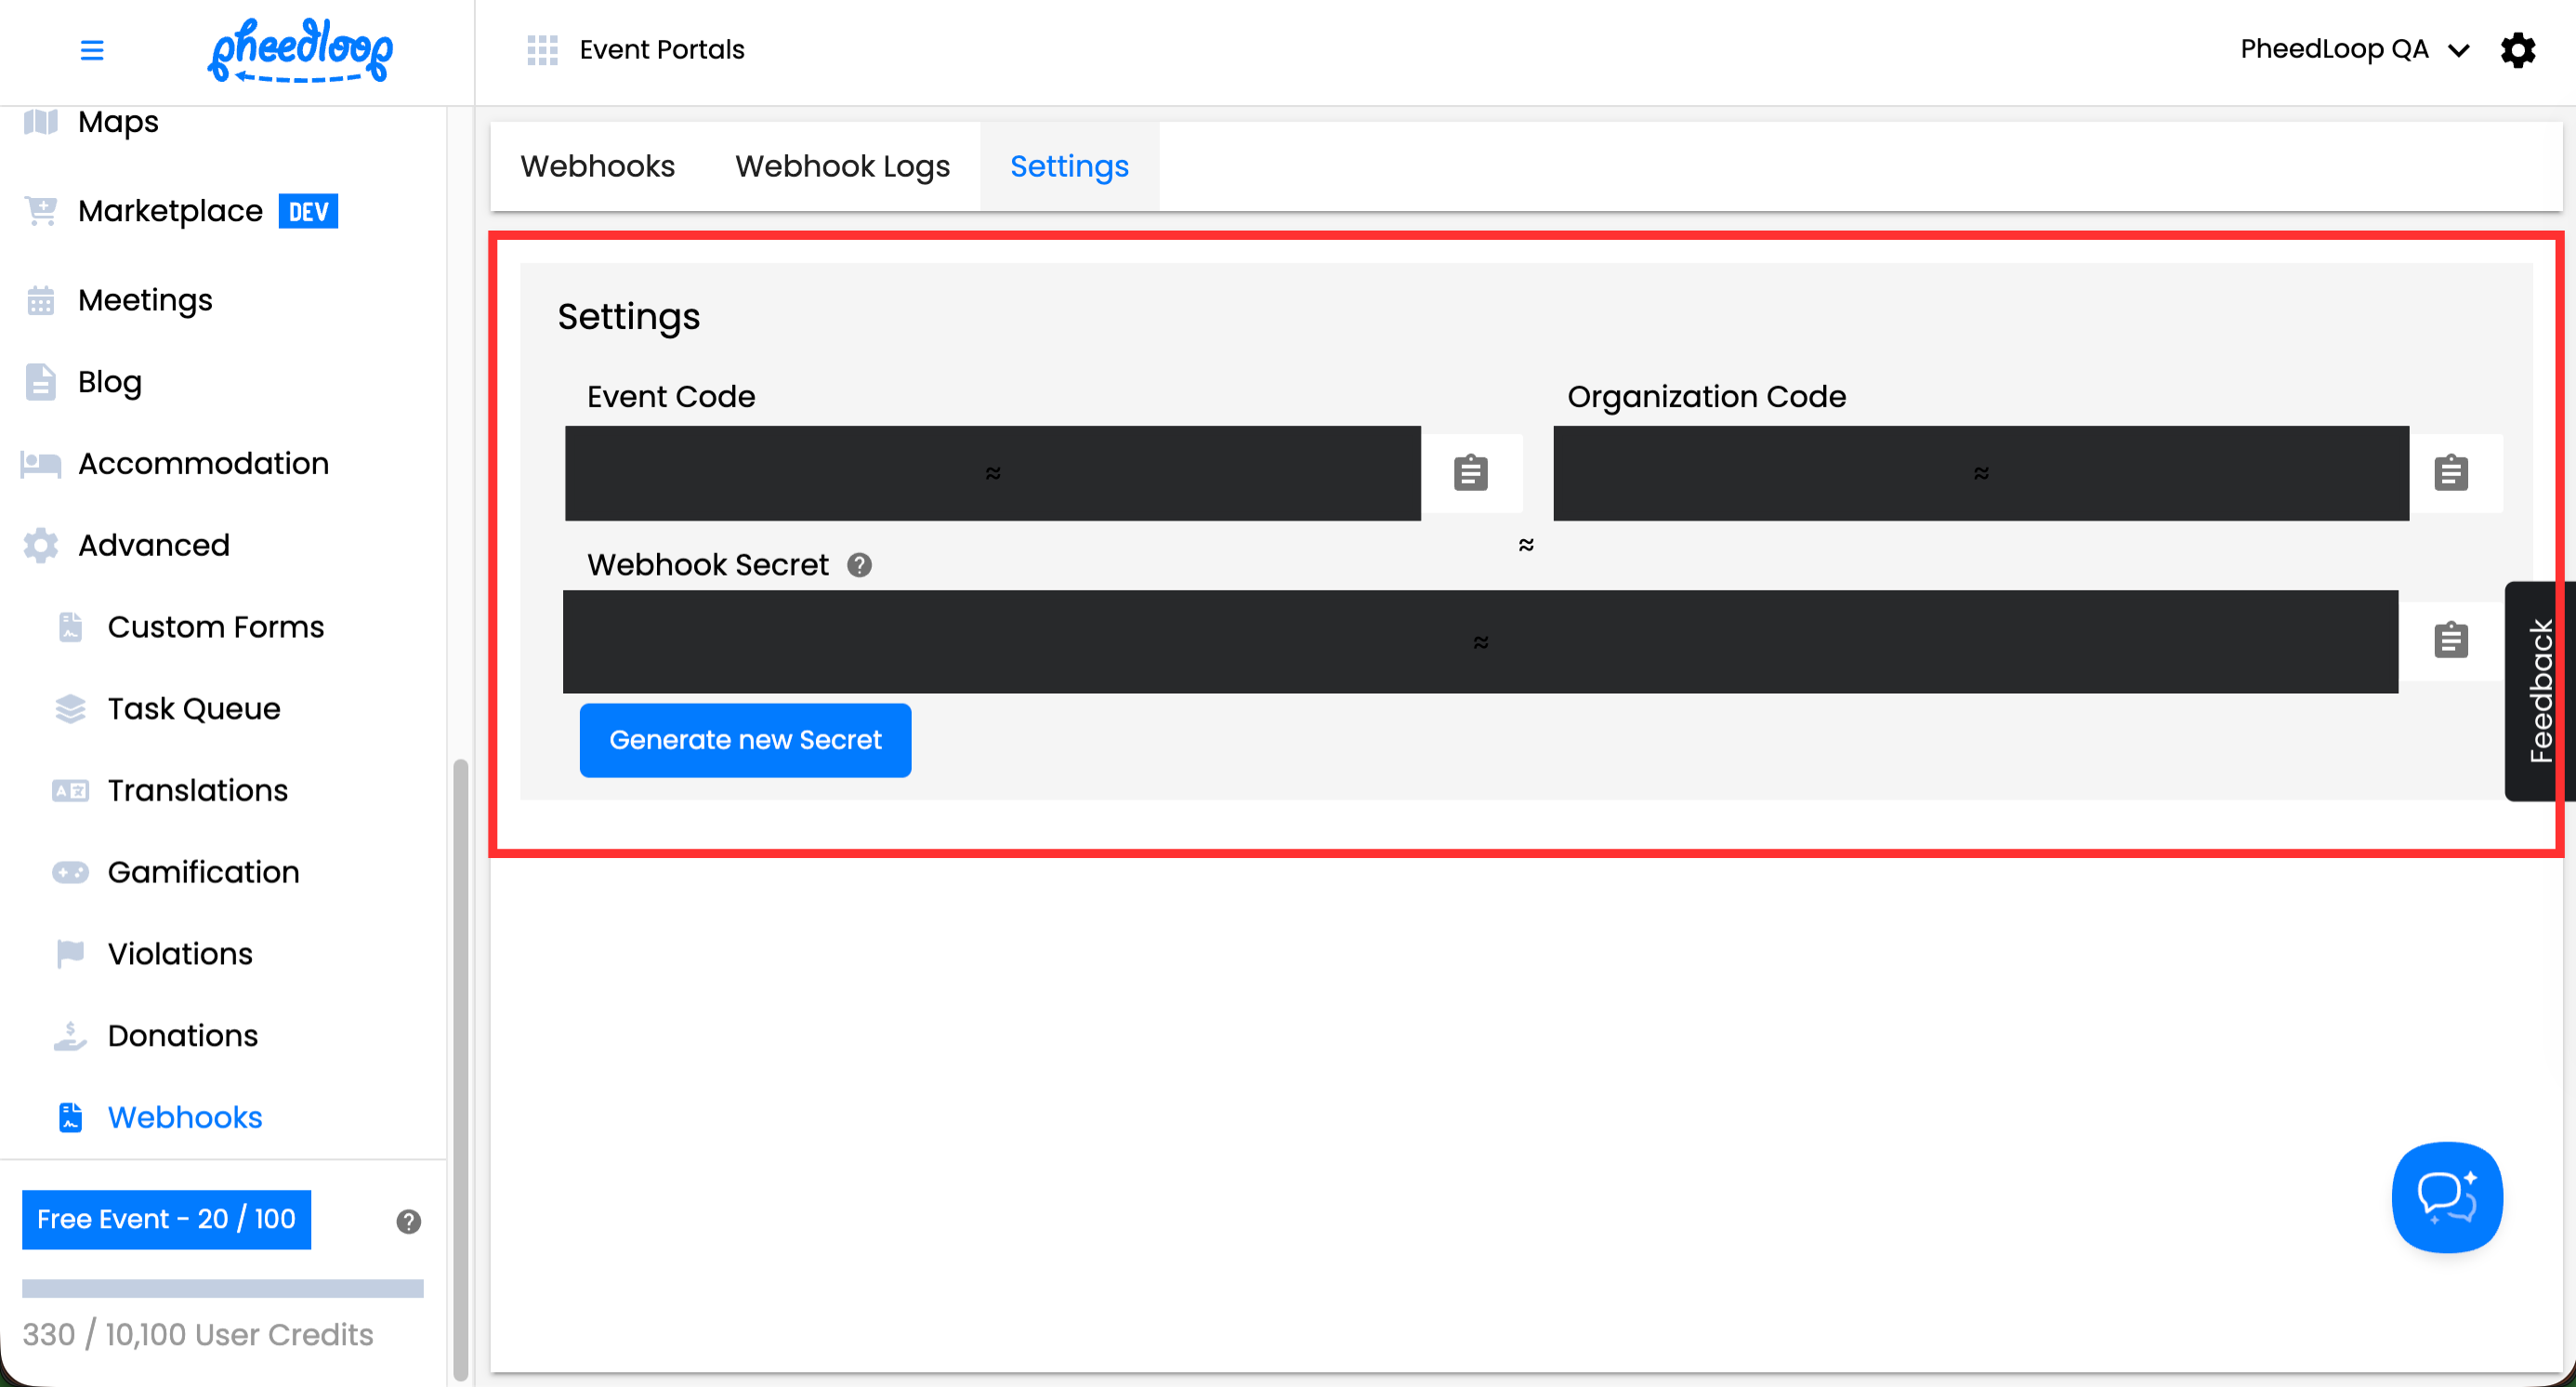
Before creating webhooks in PheedLoop, your organization will need to pull the Event Code, Organization Code, and Webhook Secret from the Event Dashboard. Event Code and Webhook Secrets are unique across events, while the organization code is consistent. Once retrieved, this information must be set up on your endpoint to retrieve information.
Please note, the Webhook Secret should be treated as confidential and never shared publicly. If a Webhook Secret is suspected to be comprimised, it is recommended to reset the secret to maintain security.
To retrieve the webhook credentials
- From the Event Dashboard, navigate to Advanced > Webhooks > Settings
- Copy the Event Code, Event Code, Organization Code, and Webhook Secret
- Select Generate New Secret if you would like to reset your Webhook Secret. After resetting, you must update your webhook endpoint to use the new secret.
-
Use this information to set up your endpoint URL

Adding Webhooks to the Event Dashboard
Once your webhook is created, you can add them into the Event Dashboard.
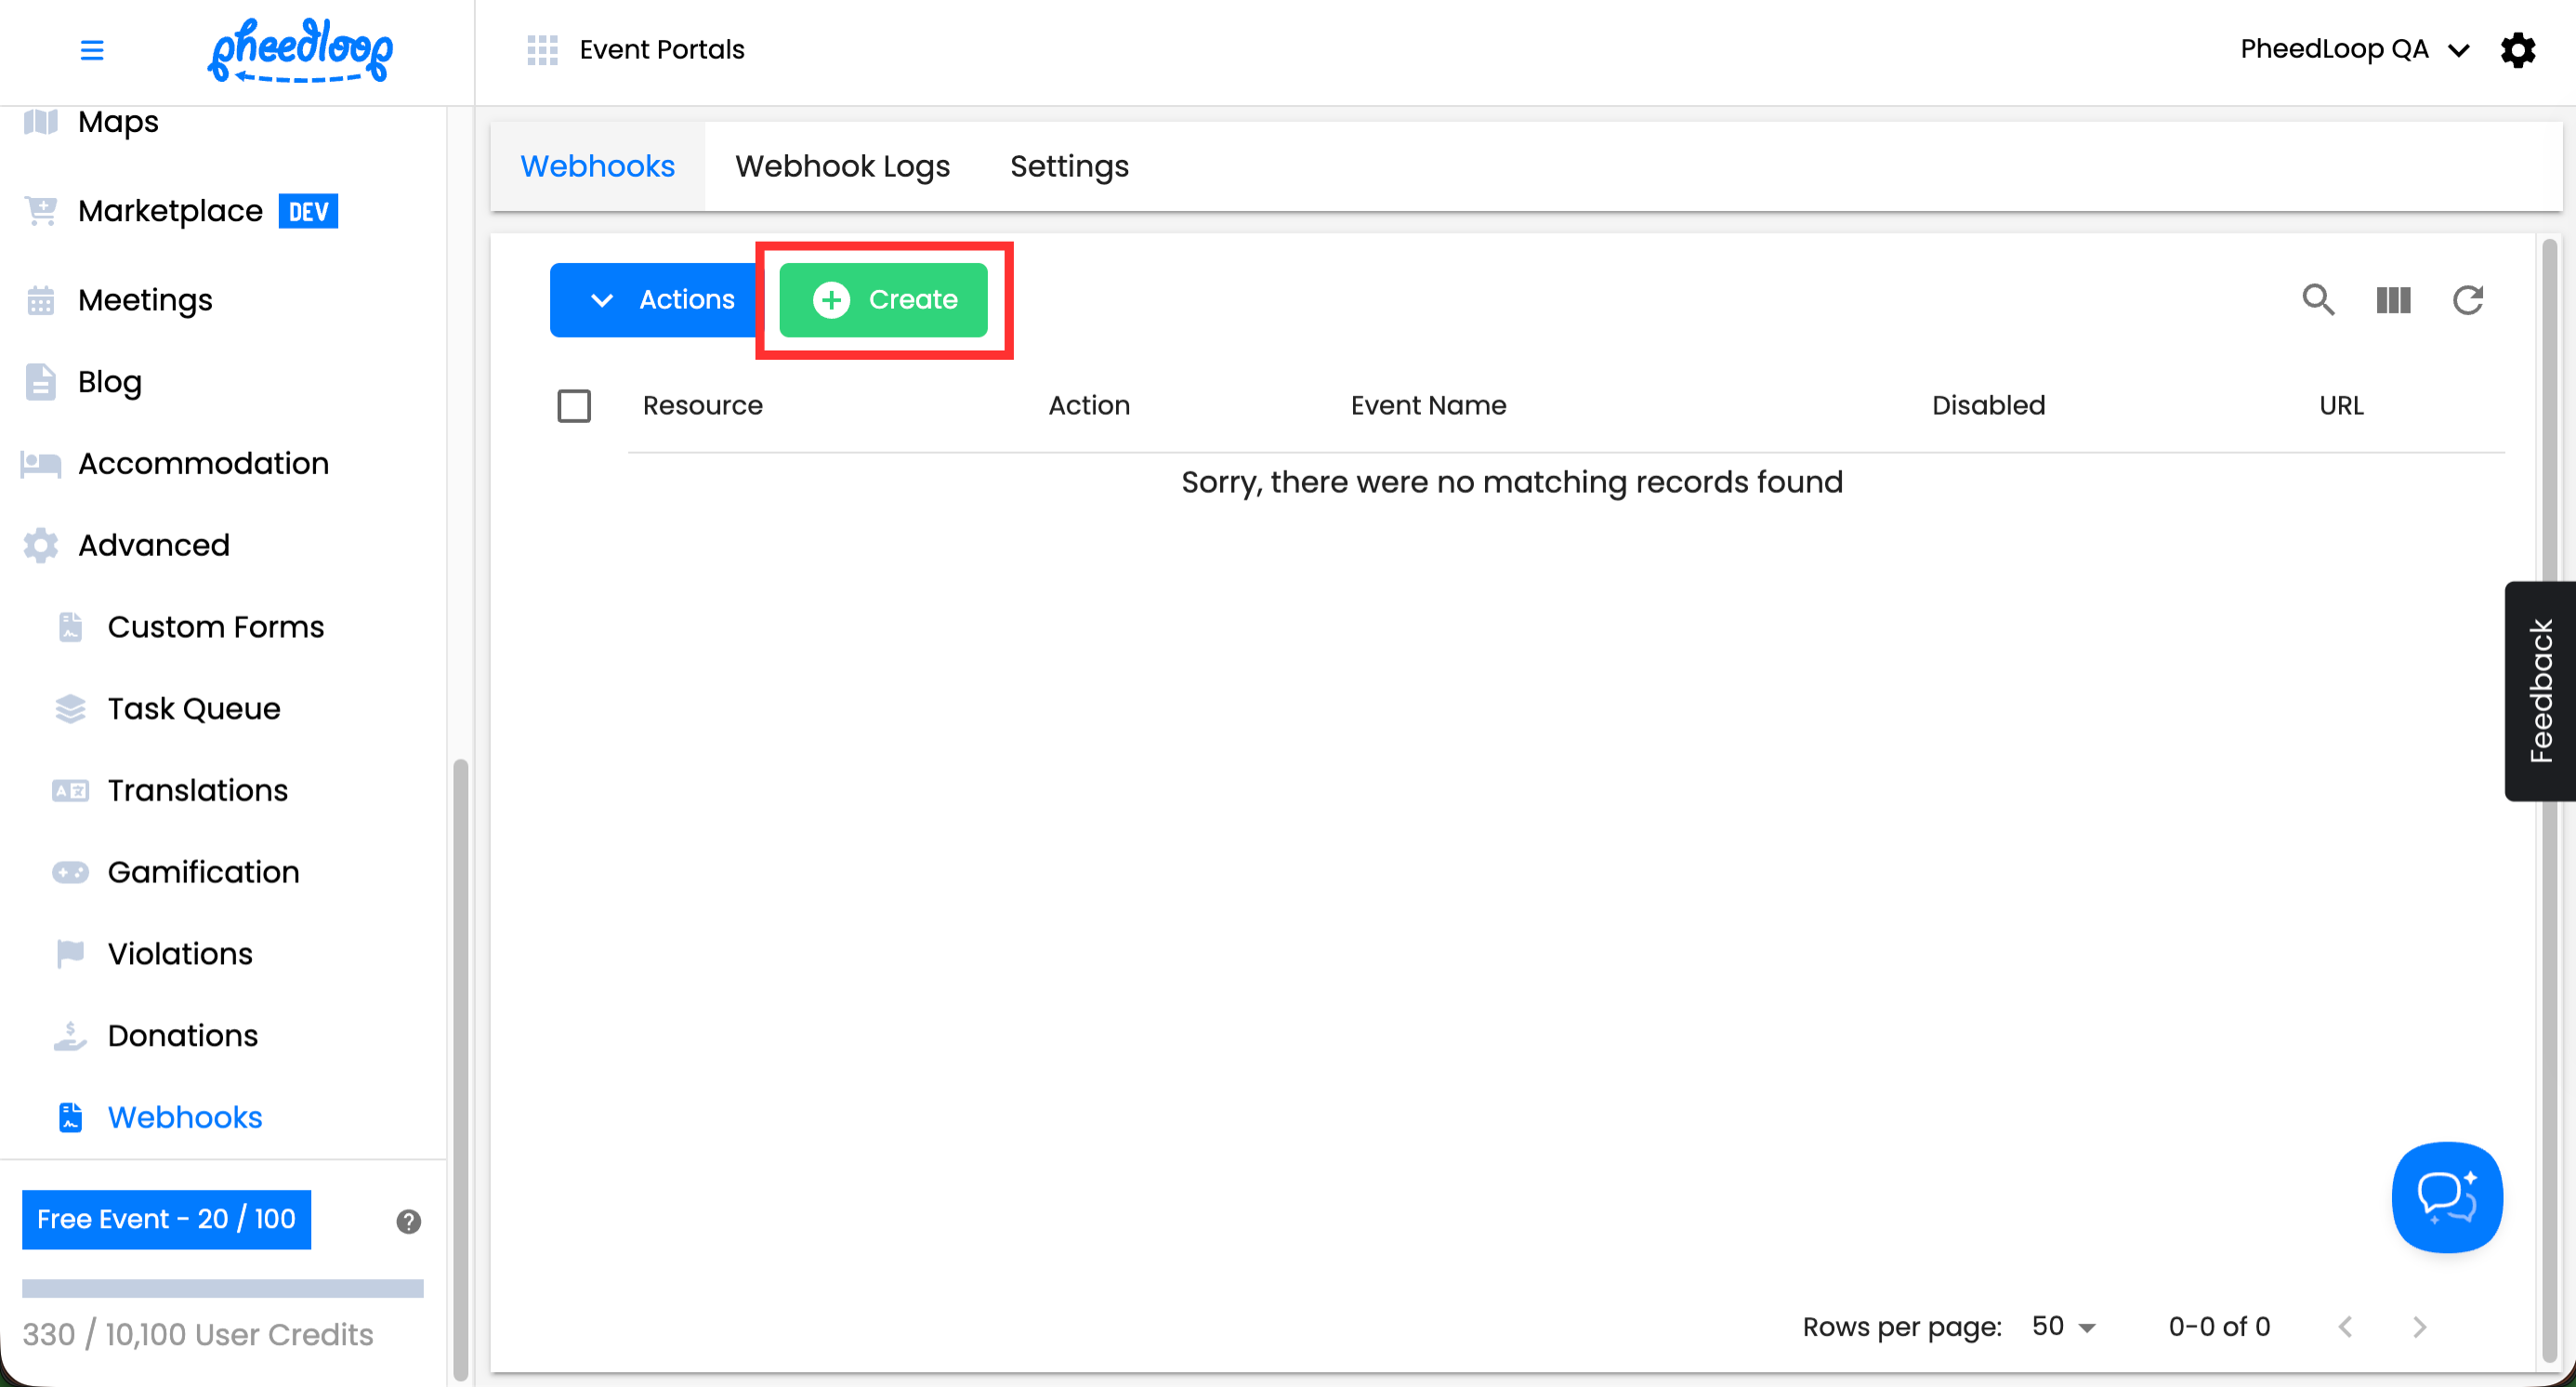
- From the Event Dashboard, navigate to Advanced > Webhooks > Webhooks
-
Above the Webhooks table, select Create
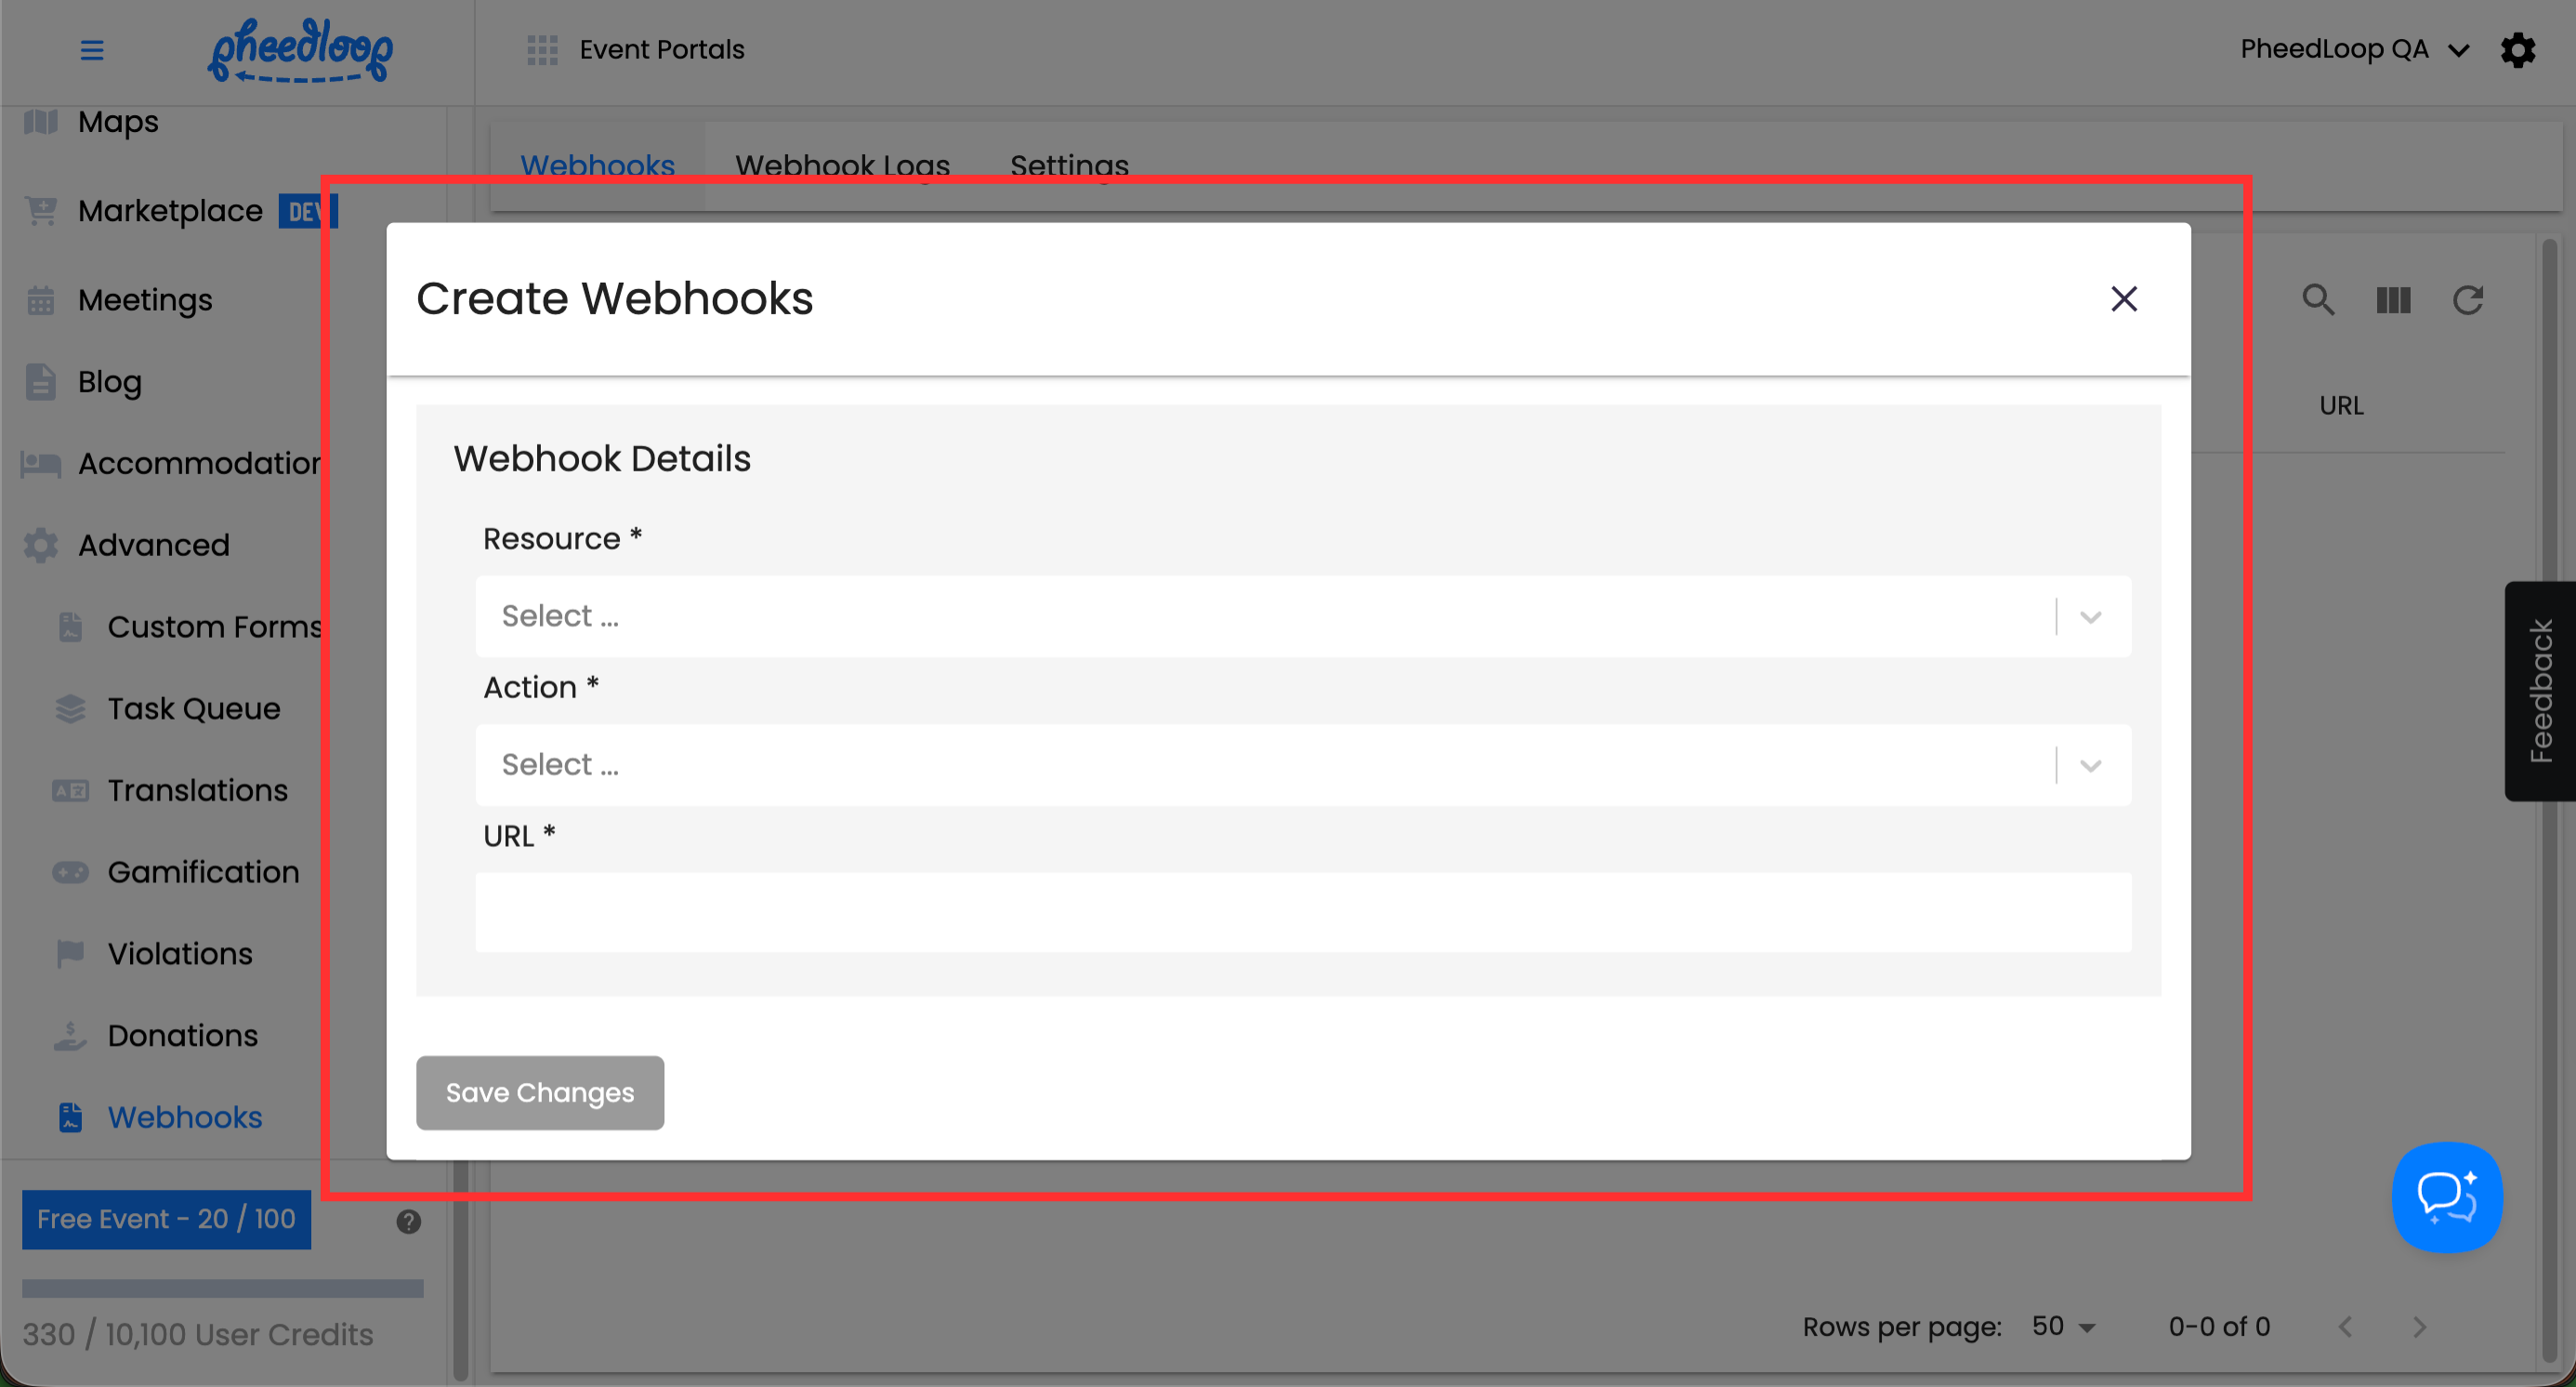
- Under the Resource field, the asset the Webhook should be triggered for
- For example, attendees, registrations, check-ins
- Under the Action field, select the specific behaviour that will trigger the webhook
- PheedLoop supports create, update, and delete actions.
- Under the URL field, enter the endpoint
-
Select Save Changes


Reviewing Webhook Logs
As your webhooks are used, PheedLoop documents each action in the Event Dashboard. You can find these yourself by navigating to Advanced > Webhooks > Webhook Log.

This log shows every webhook delivery attempt and its outcome. The Response Status column shows if the Webhook has succeeded or failed. A 200 response indicates the webhook was delivered successfully. A 400-level response usually points to a configuration issue on the receiving endpoint, such as an incorrect or misspelled URL. A 500-level response indicates an error on the receiving server and is not related to PheedLoop.
The table below provides a breakdown of the columns displayed in the webhook log.
| Column Name | Description |
|---|---|
| Event Name | The name of the event in which the webhook was triggered. This refers only to the event context and does not describe the webhook event type or action. |
| Resource | The type of object associated with the webhook event (for example, registrations, attendees, or check-ins). |
| Action | The action performed on the resource that triggered the webhook (such as created, updated, or deleted). |
| Webhook | The webhook configuration that sent the request, including the destination endpoint. Clicking on the link will take you to the created webhook in the Event Dashboard. |
| Response Status | The HTTP response status code returned by the receiving endpoint for the webhook request. A 200-level response indicates success while a 400-level response indicates failure. |
| Sent At | The date and time when the webhook request was sent. |
| Attempt # | The delivery attempt number for the webhook request, including retries after failed attempts. |